The Beginner’s Guide to Hiking the Kekekabic Trail
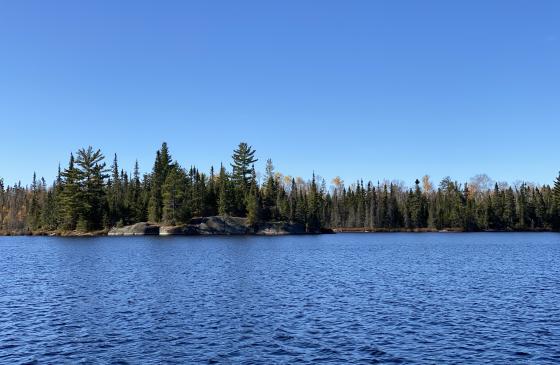
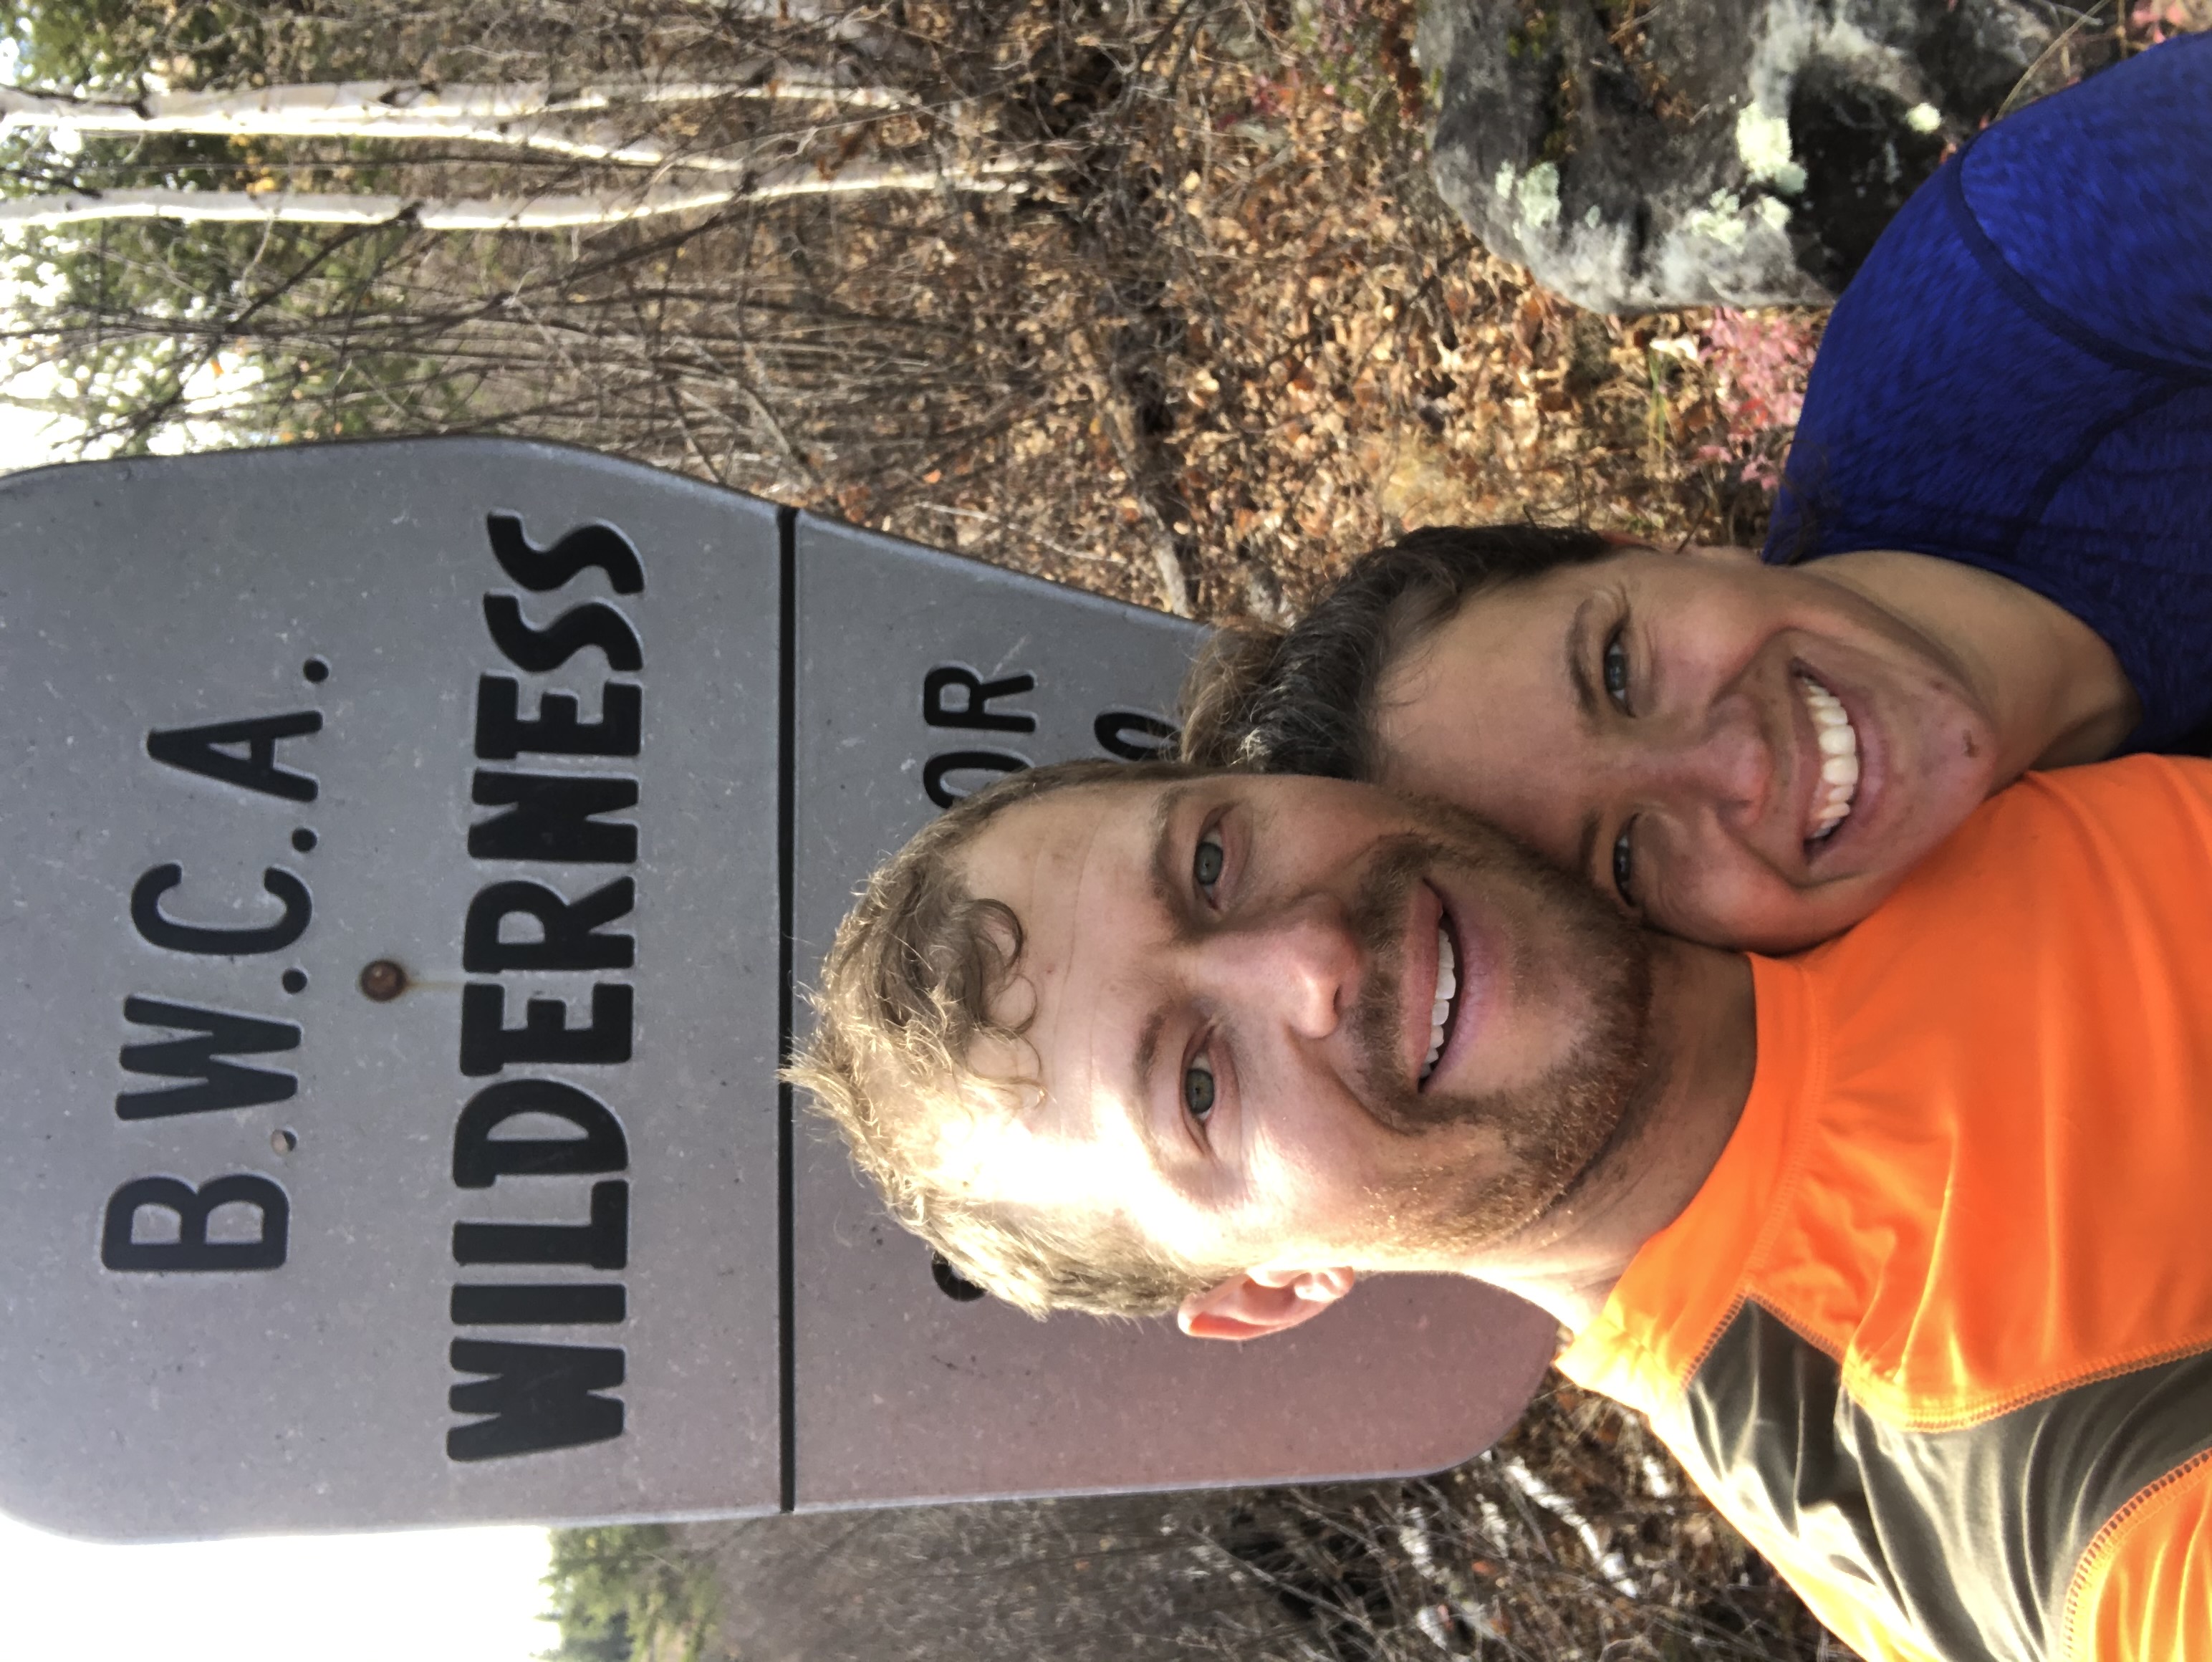
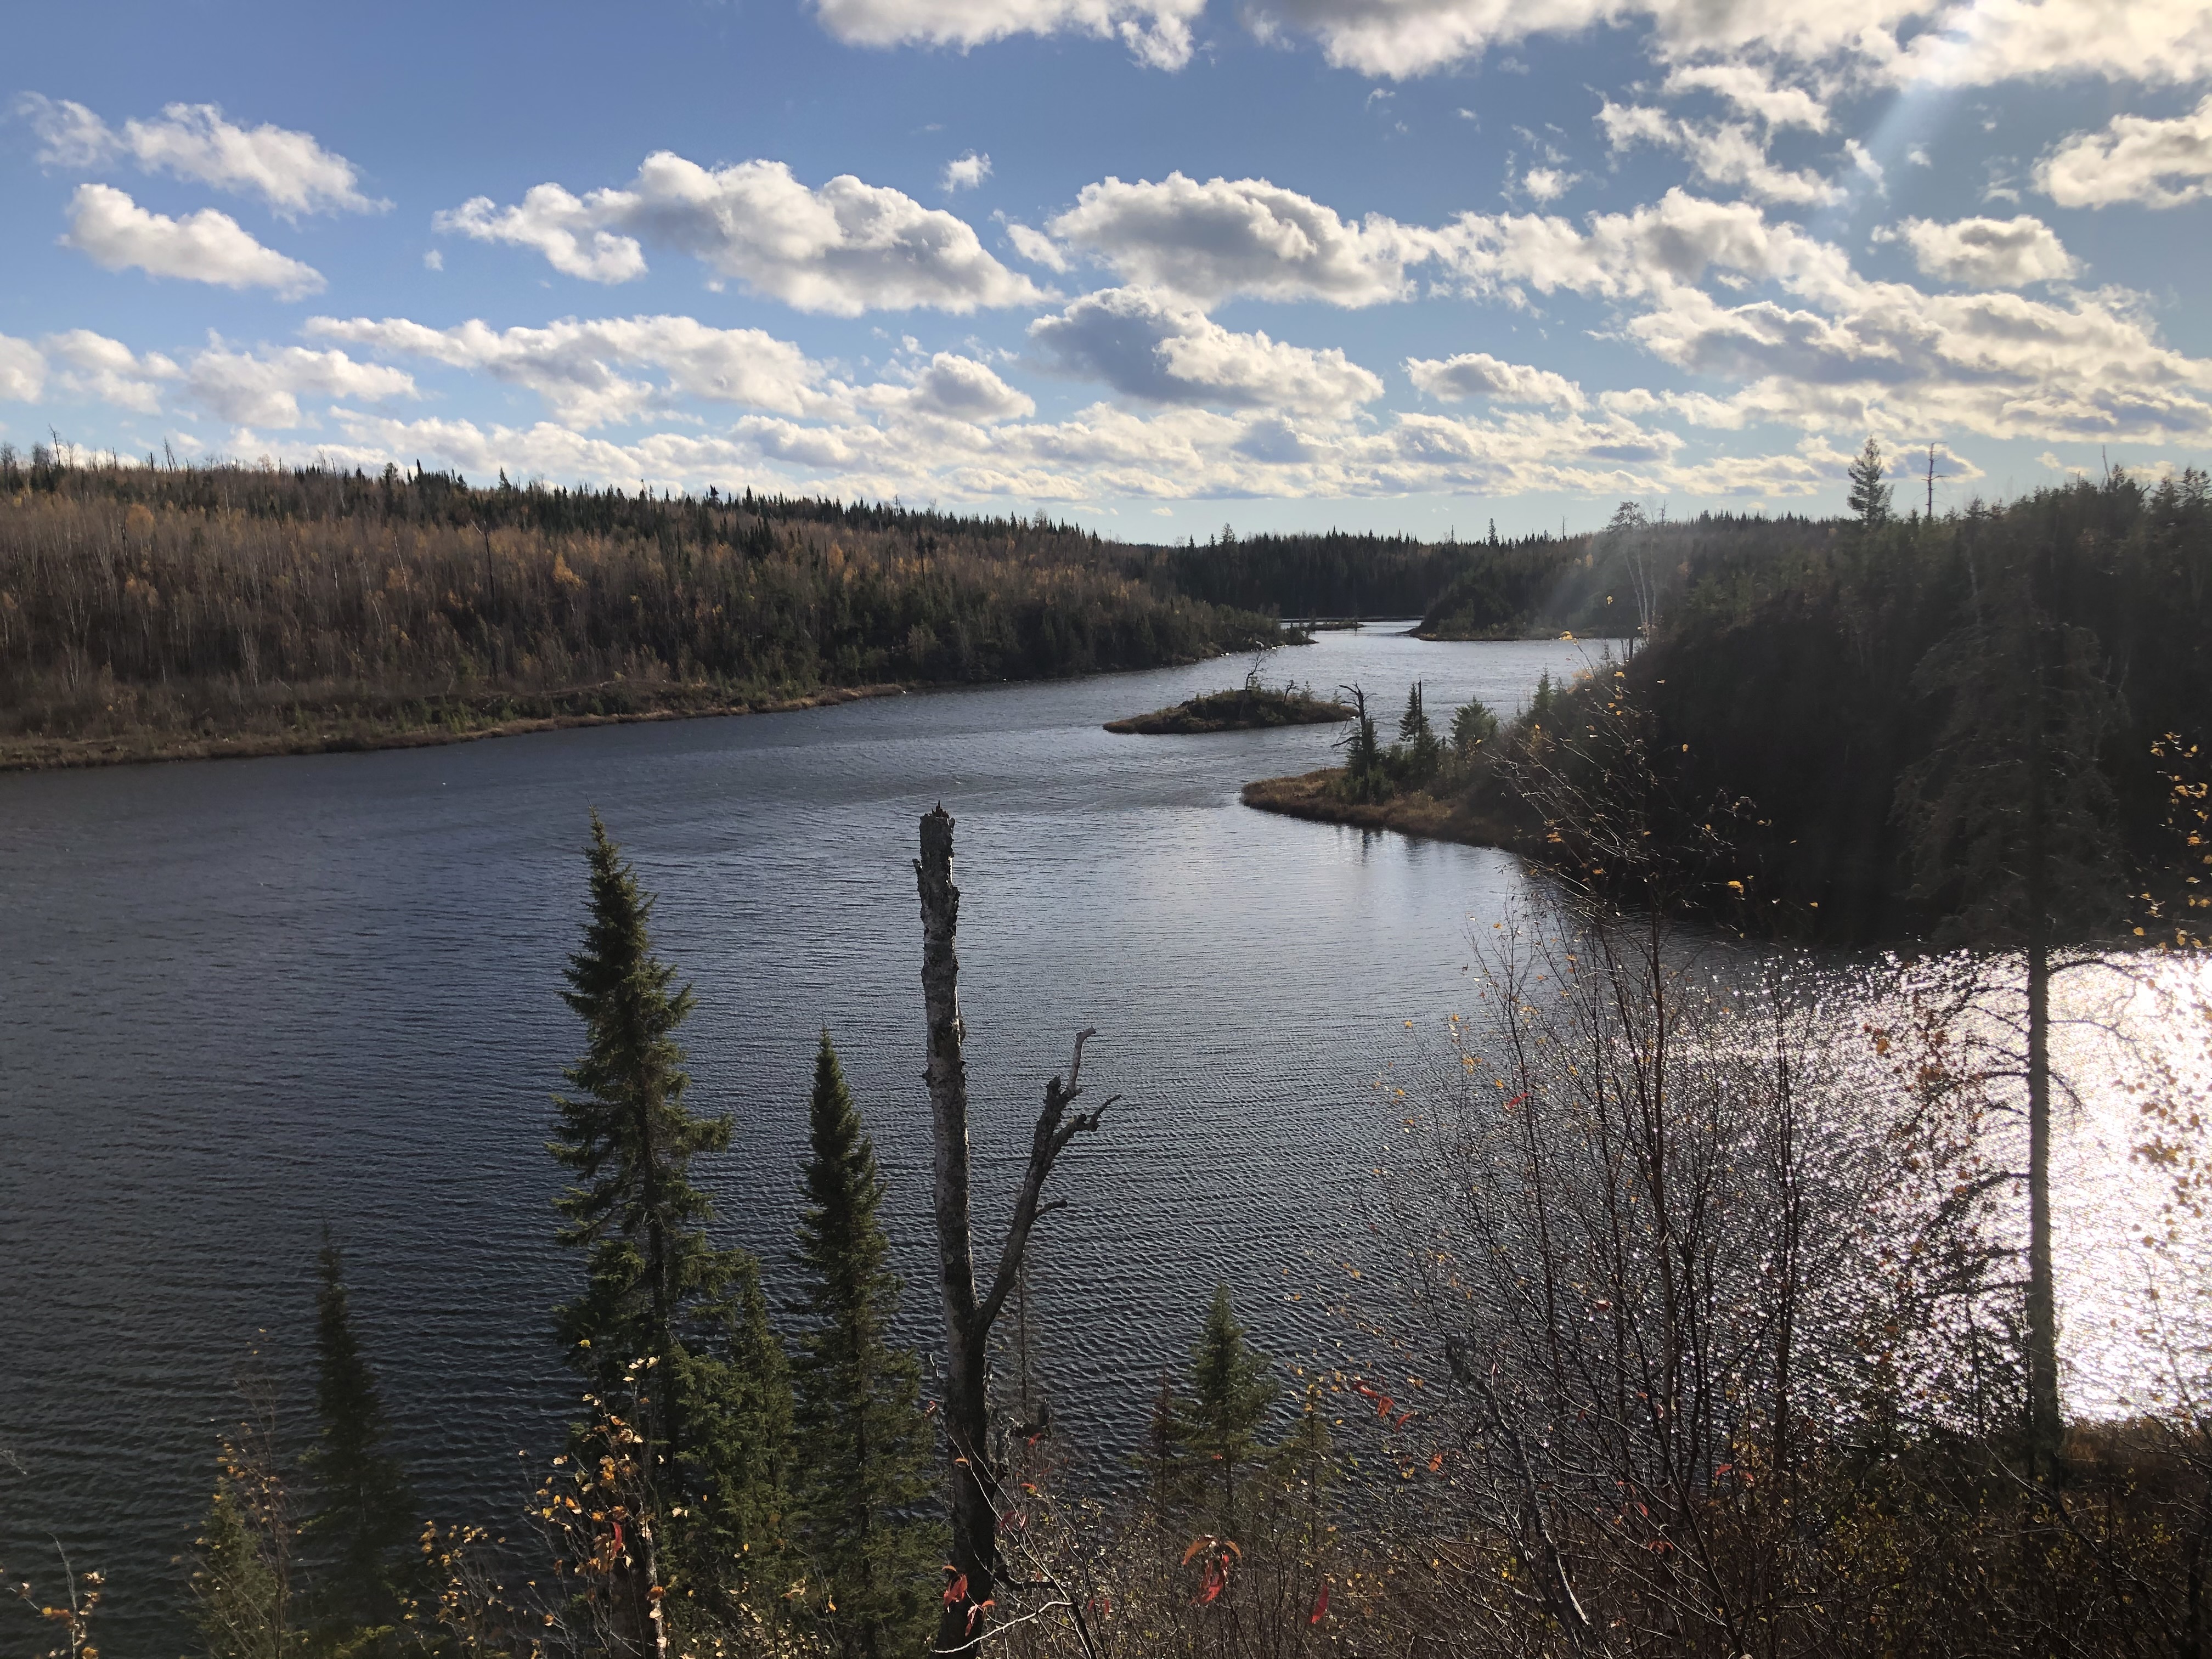
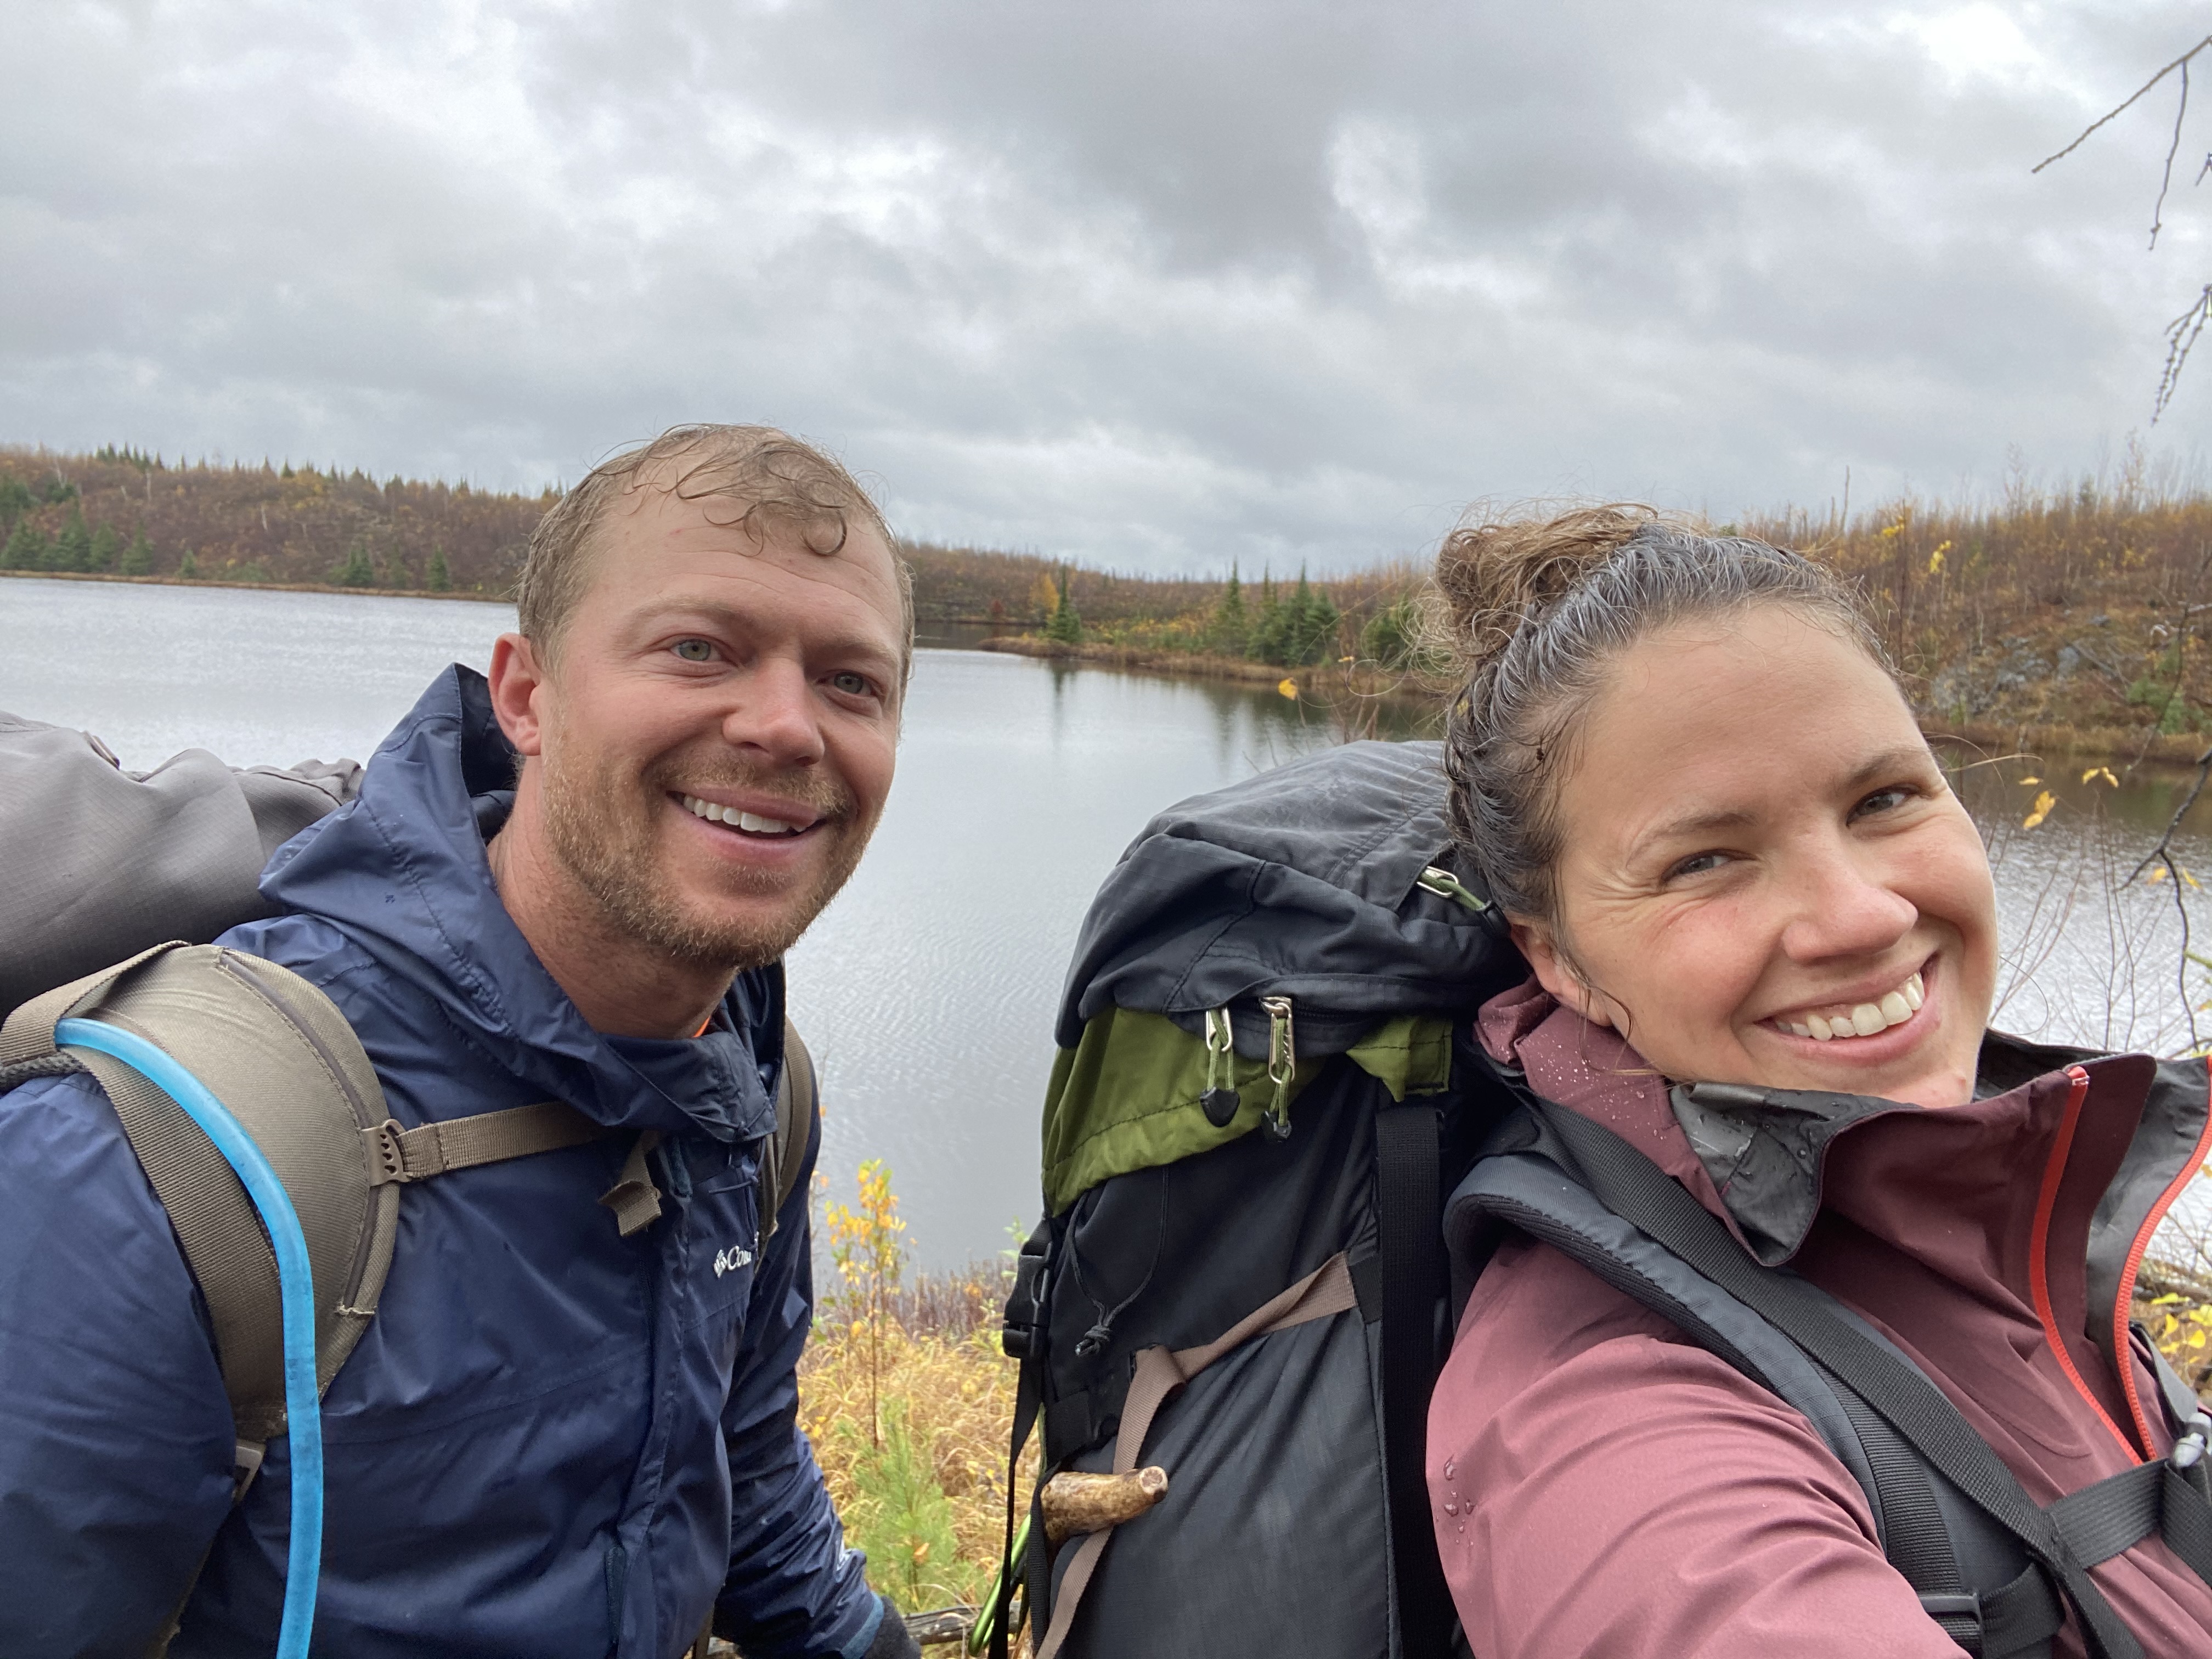
Have you ever hiked 47 miles in 4 days? I hadn’t either—in fact, I had never truly gone on a backpacking or a Boundary Waters trip without a canoe. But that’s what I did, a hike on the elusive Kekekabic Trail in Northeastern Minnesota—a trail almost all within the breathtaking Boundary Waters Canoe Area Wilderness. The “Kek”, as the trail is called, stretches from Snowbank Lake in Ely, Minnesota all the way to the Gunflint Trail, near Grand Marais. And to make the longest walk of my life even more interesting, I signed up for it with a brand-new, Almost Boyfriend, of all things. (What can I say, I like to keep things interesting...)
Maybe you’re like my (now) boyfriend and are an experienced hiker who doesn’t need to look down to make sure you don’t slip or trip over every single rock on the Kekekabic Trail. Or maybe you’re like me: a walking, talking, and tripping-over-your-own-feet and every rock machine.
Lesson #1: Pack a deluxe first aid kit—you will have no cell service on the Kek and no canoe to act as your gurney in the case of a rolled ankle—more on this later.
No matter your personal experience, you can do this hike if you truly want to. You see, the Wilderness welcomes everyone, no matter your skillset or level. You don’t have to be an extreme hiker or weathered outdoorswoman. You can come as you are with borrowed or outfitted gear. Hell, even a “How to” book is good company on a trail if you’re a novice, although I did prefer my survival-encyclopedia, Almost Boyfriend, as a resource on this trip. But I still had to do it, all the hard stuff, on my own. Just like you’ll have to. All you need is the will to put one foot in front of the other, no matter what comes your way.
Lesson #2: Trekking poles are a must if you’re as graceful as me and are prone to tripping while walking on flat surfaces.
While planning your trip, people will tell you, “oh there’s just a little bit of elevation on the Kek, you’ll be fine.” However, I’m not going to lie to you, yes you will be fine, it’s not like hiking in the mountains at 9,000 feet, but to a novice hiker, this was more than a little elevation. I remember going breathless up what felt like a mountainside, explaining to myself out loud how I was going to write so many reviews on all the group-hiking pages I researched before the trip to warn people like me that the phrase, “a little elevation,” is extremely subjective.
Lesson #3: Stop and take as many breaks as you need and consider borrowing or buying a hydration pack, but water bottles work just fine.
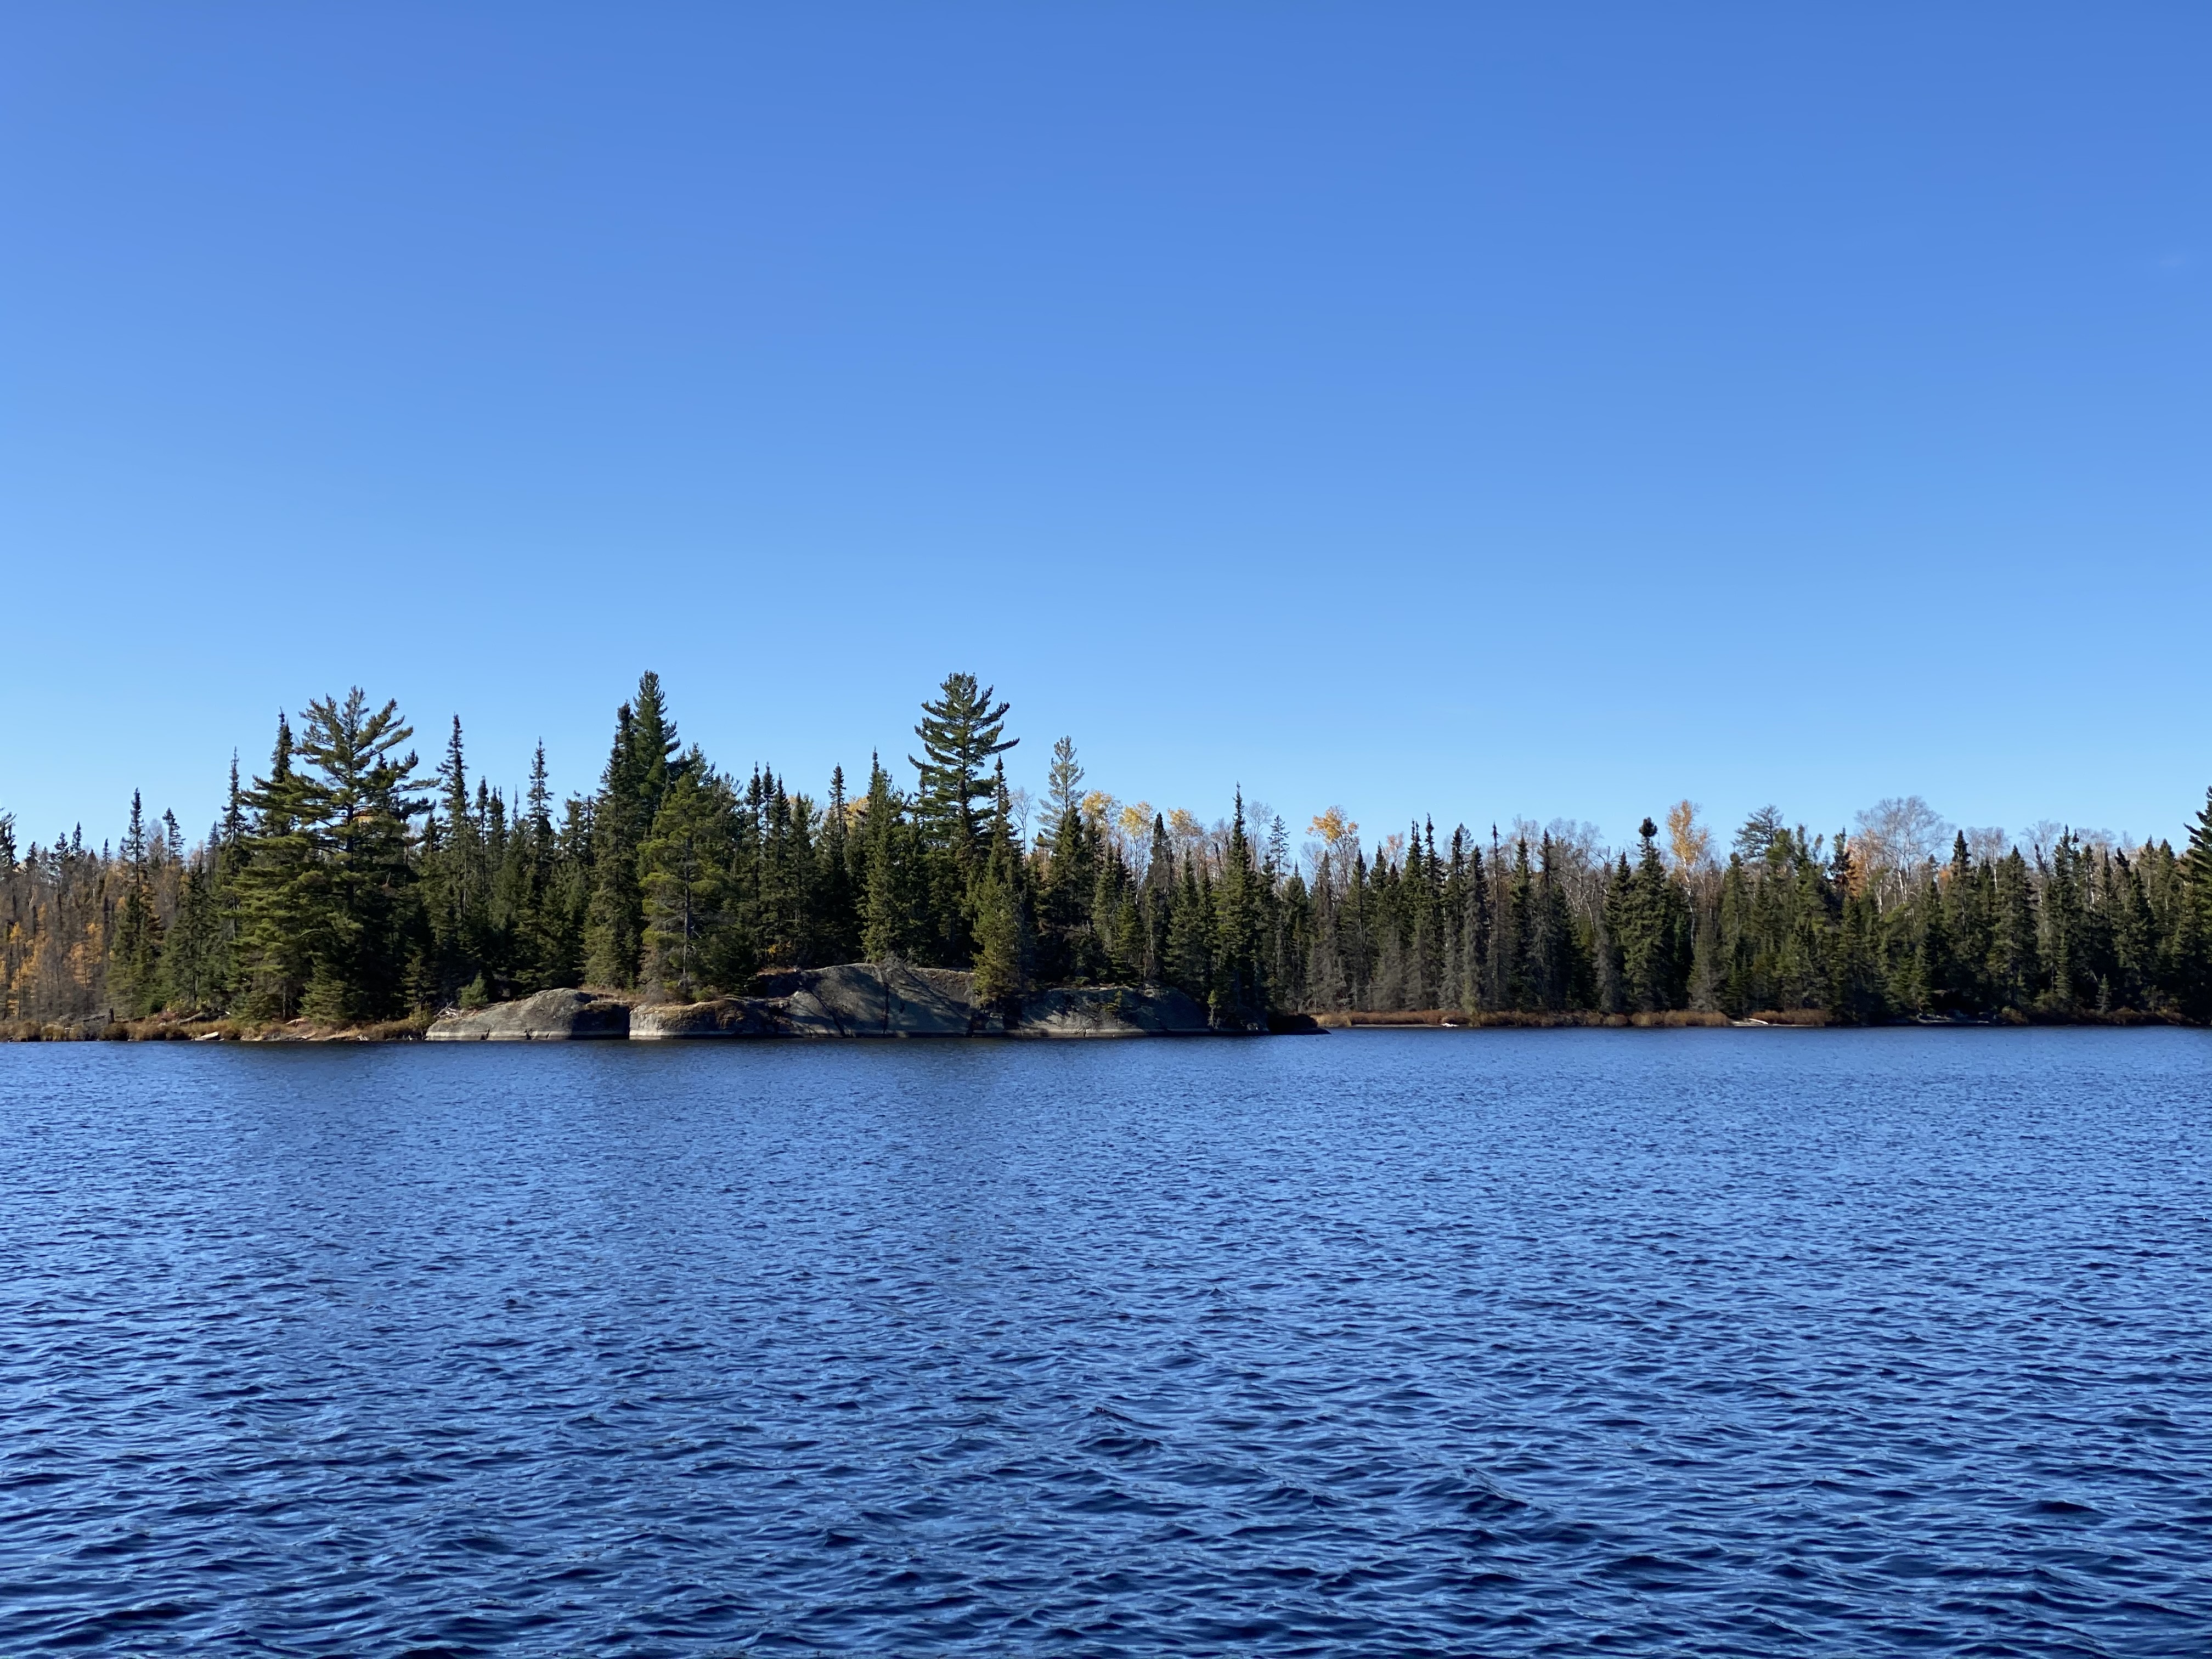
The Kekekabic is described as a remote, minimally maintained trail, but we had no problem following the trail—we still brought a GPS which read 47 miles at the end of our hike and not the claimed 41 miles.
However, instead of writing a review, I’m leaving you with my packing list and a non-sugar-coated run-down of what I encountered on my journey (which I would wholeheartedly do again) to fully prepare you for your first hike on the Kek.
PACKING LIST:
|
*Some items are per person Tent (lightweight if possible) Sleeping bag (w/ stuff sack) Sleeping pad (Must fit into backpack) Water bottle or Reservoir Water filter Backpacking Stove (can cook on fire grate at campsites if wood is available.) Fuel Cookset (lightweight if possible) Bowl/plate and a utensil Meals (dehydrated preferably) and snacks Lighter/Matches/Firestarter Biodegradable Soap (do not use directly in lakes) Bear bag and paracord to hang from non-existent bear-safe trees Toilet paper Compass Garmin GPS (optional) Ziplock bags or trash bag to leave no trace Headlamp and backup batteries Hiking boots (Broken-in….more on the joys of this classic move later) Camp booties to give your feet a break at camp (optional) Trekking Poles (optional)
|
Insect Repellent (depending on the season) Duct Tape (You can bring a small amount wrapped around a nalgene) Permit to enter the BWCAW
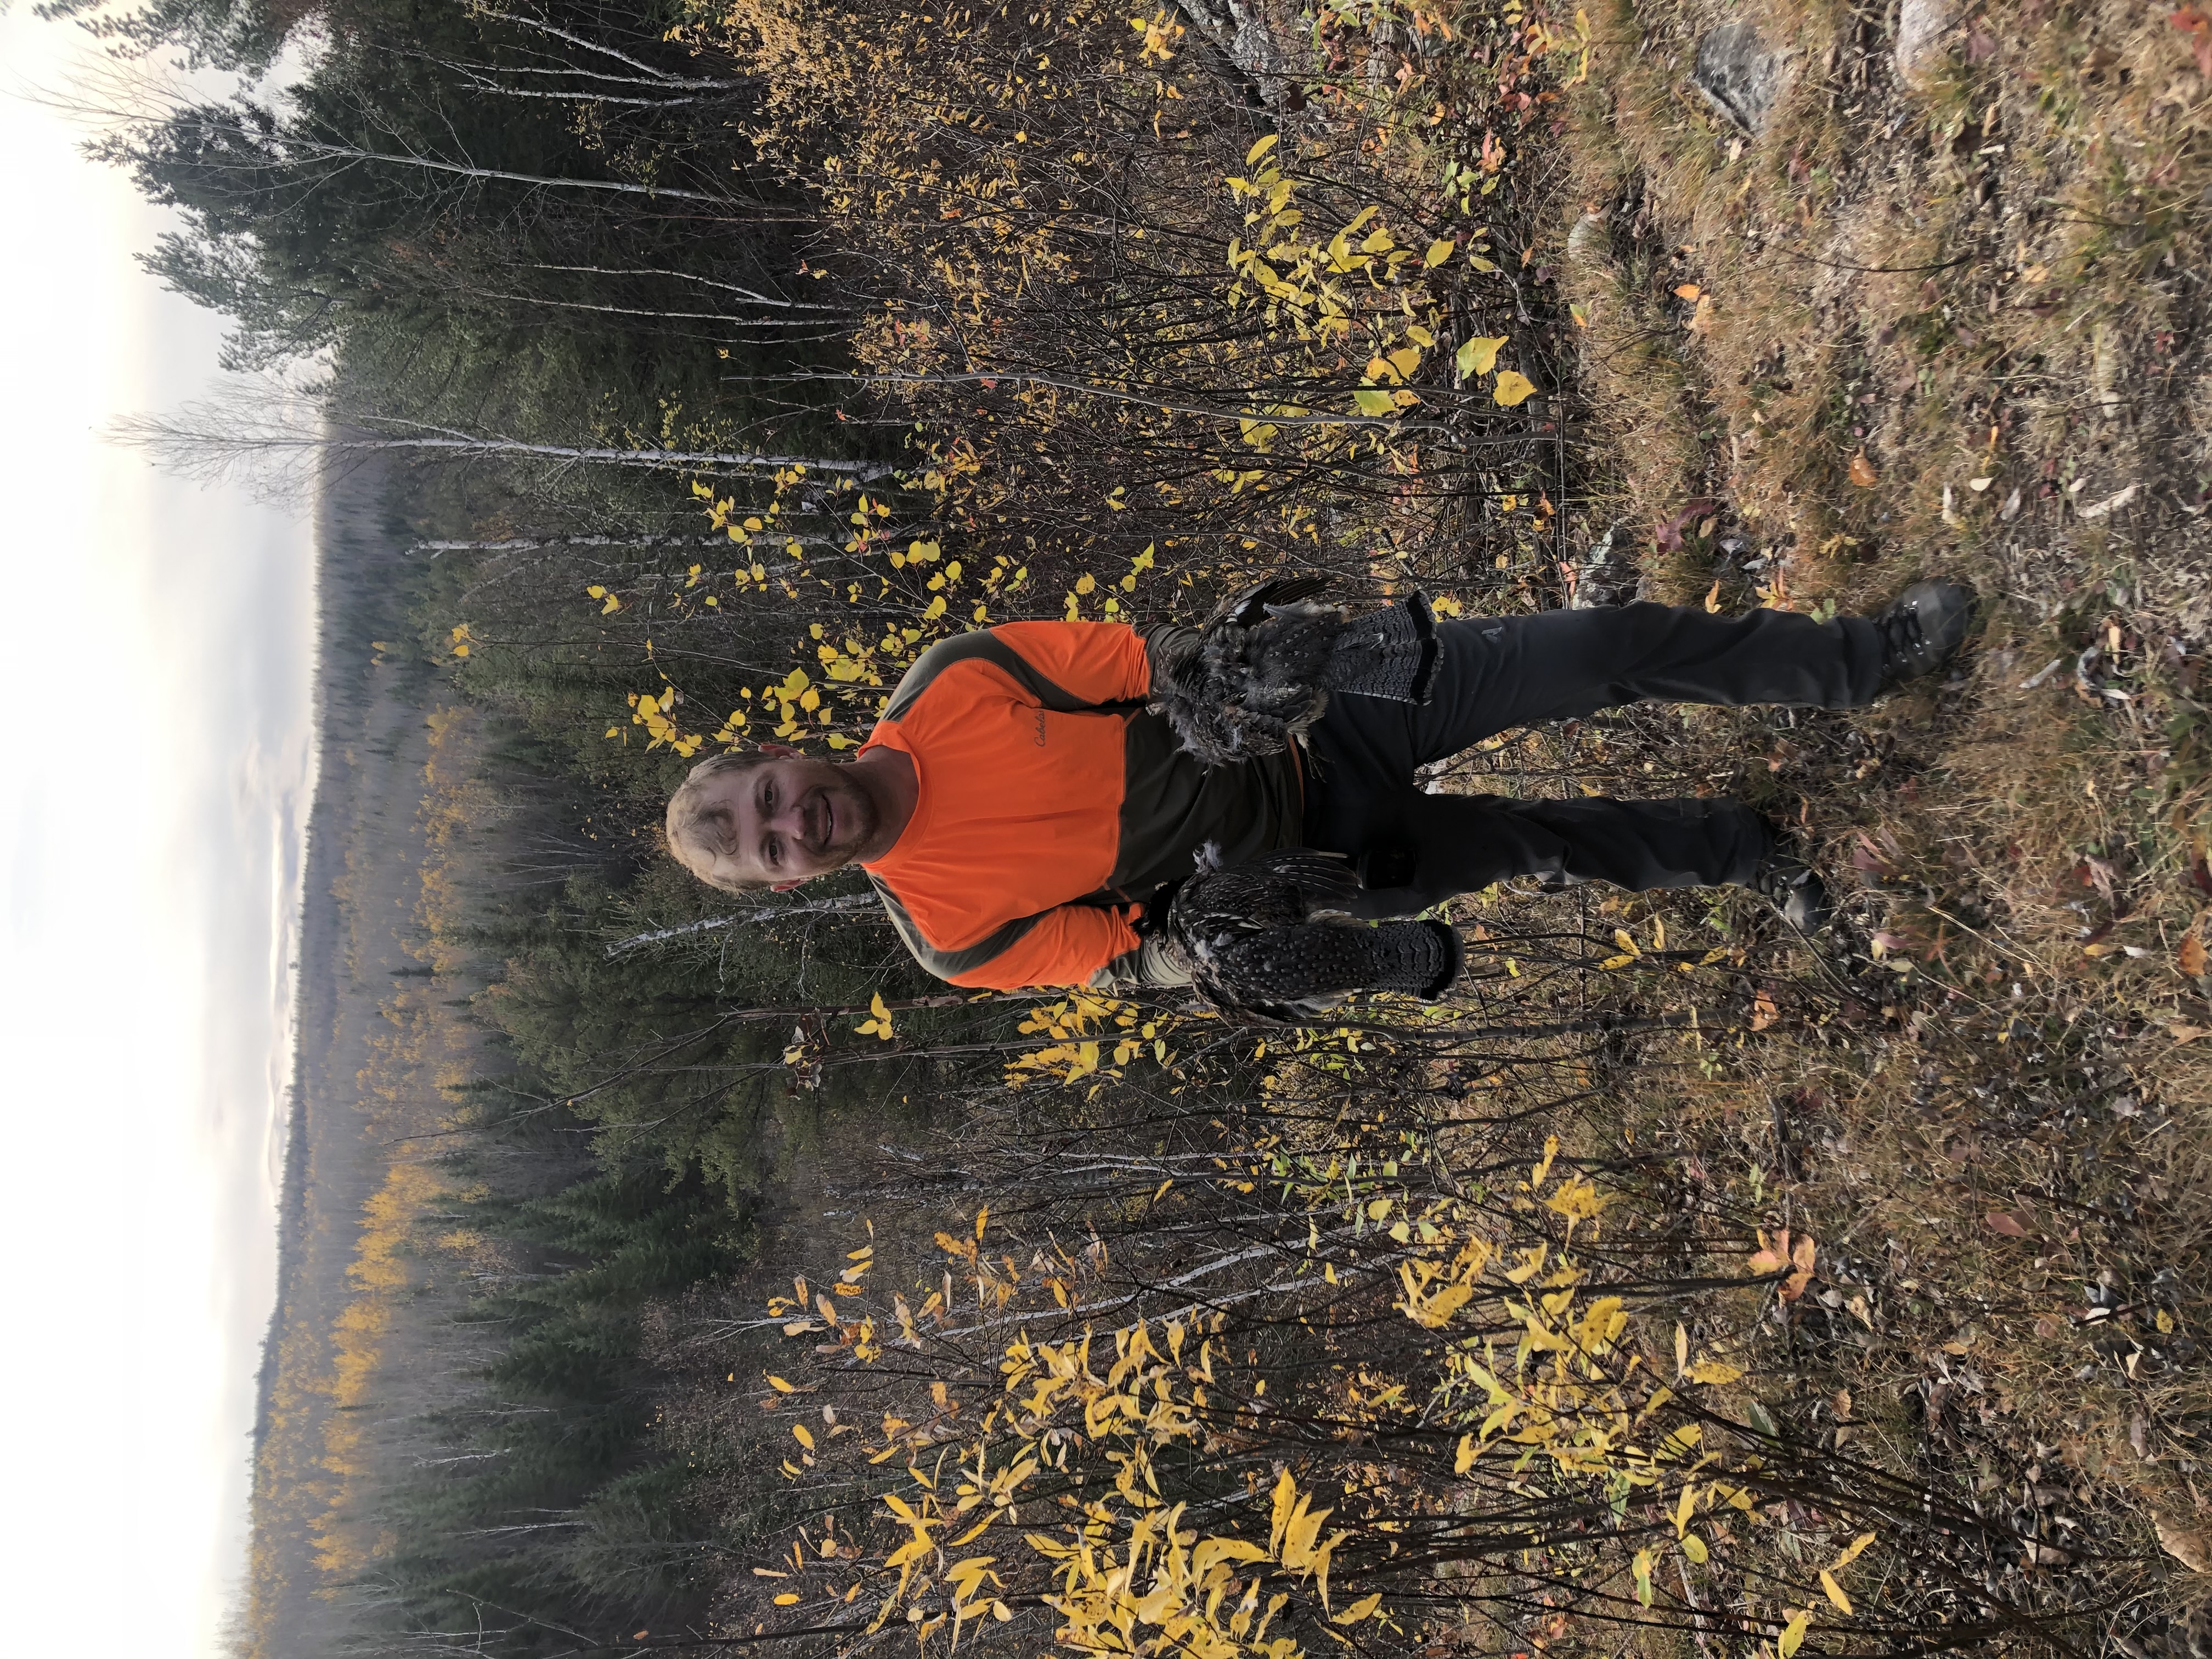
Fun items that I brought: Cribbage board and cards that you’ll be too tired to play Journal and pen to document your travels Deluxe first-aid kit (with extra duct tape) .410 shotgun and ammo for hunting grouse Flask of whiskey, for those 16 mile days (keep reading for more on this) Two Cars—one at either end of the trail or a friend to drop you off/pick you up Clothes: Fresh socks - for every day T-shirt (Moisture wicking, not cotton) Longsleeve (Moisture wicking, not cotton) Fleece or wool sweater (depending on the season) Quick drying pants and shorts Rain jacket and pants Hat (warm for cold weather or baseball cap for sunny days) Gloves or mittens (for cold weather) |
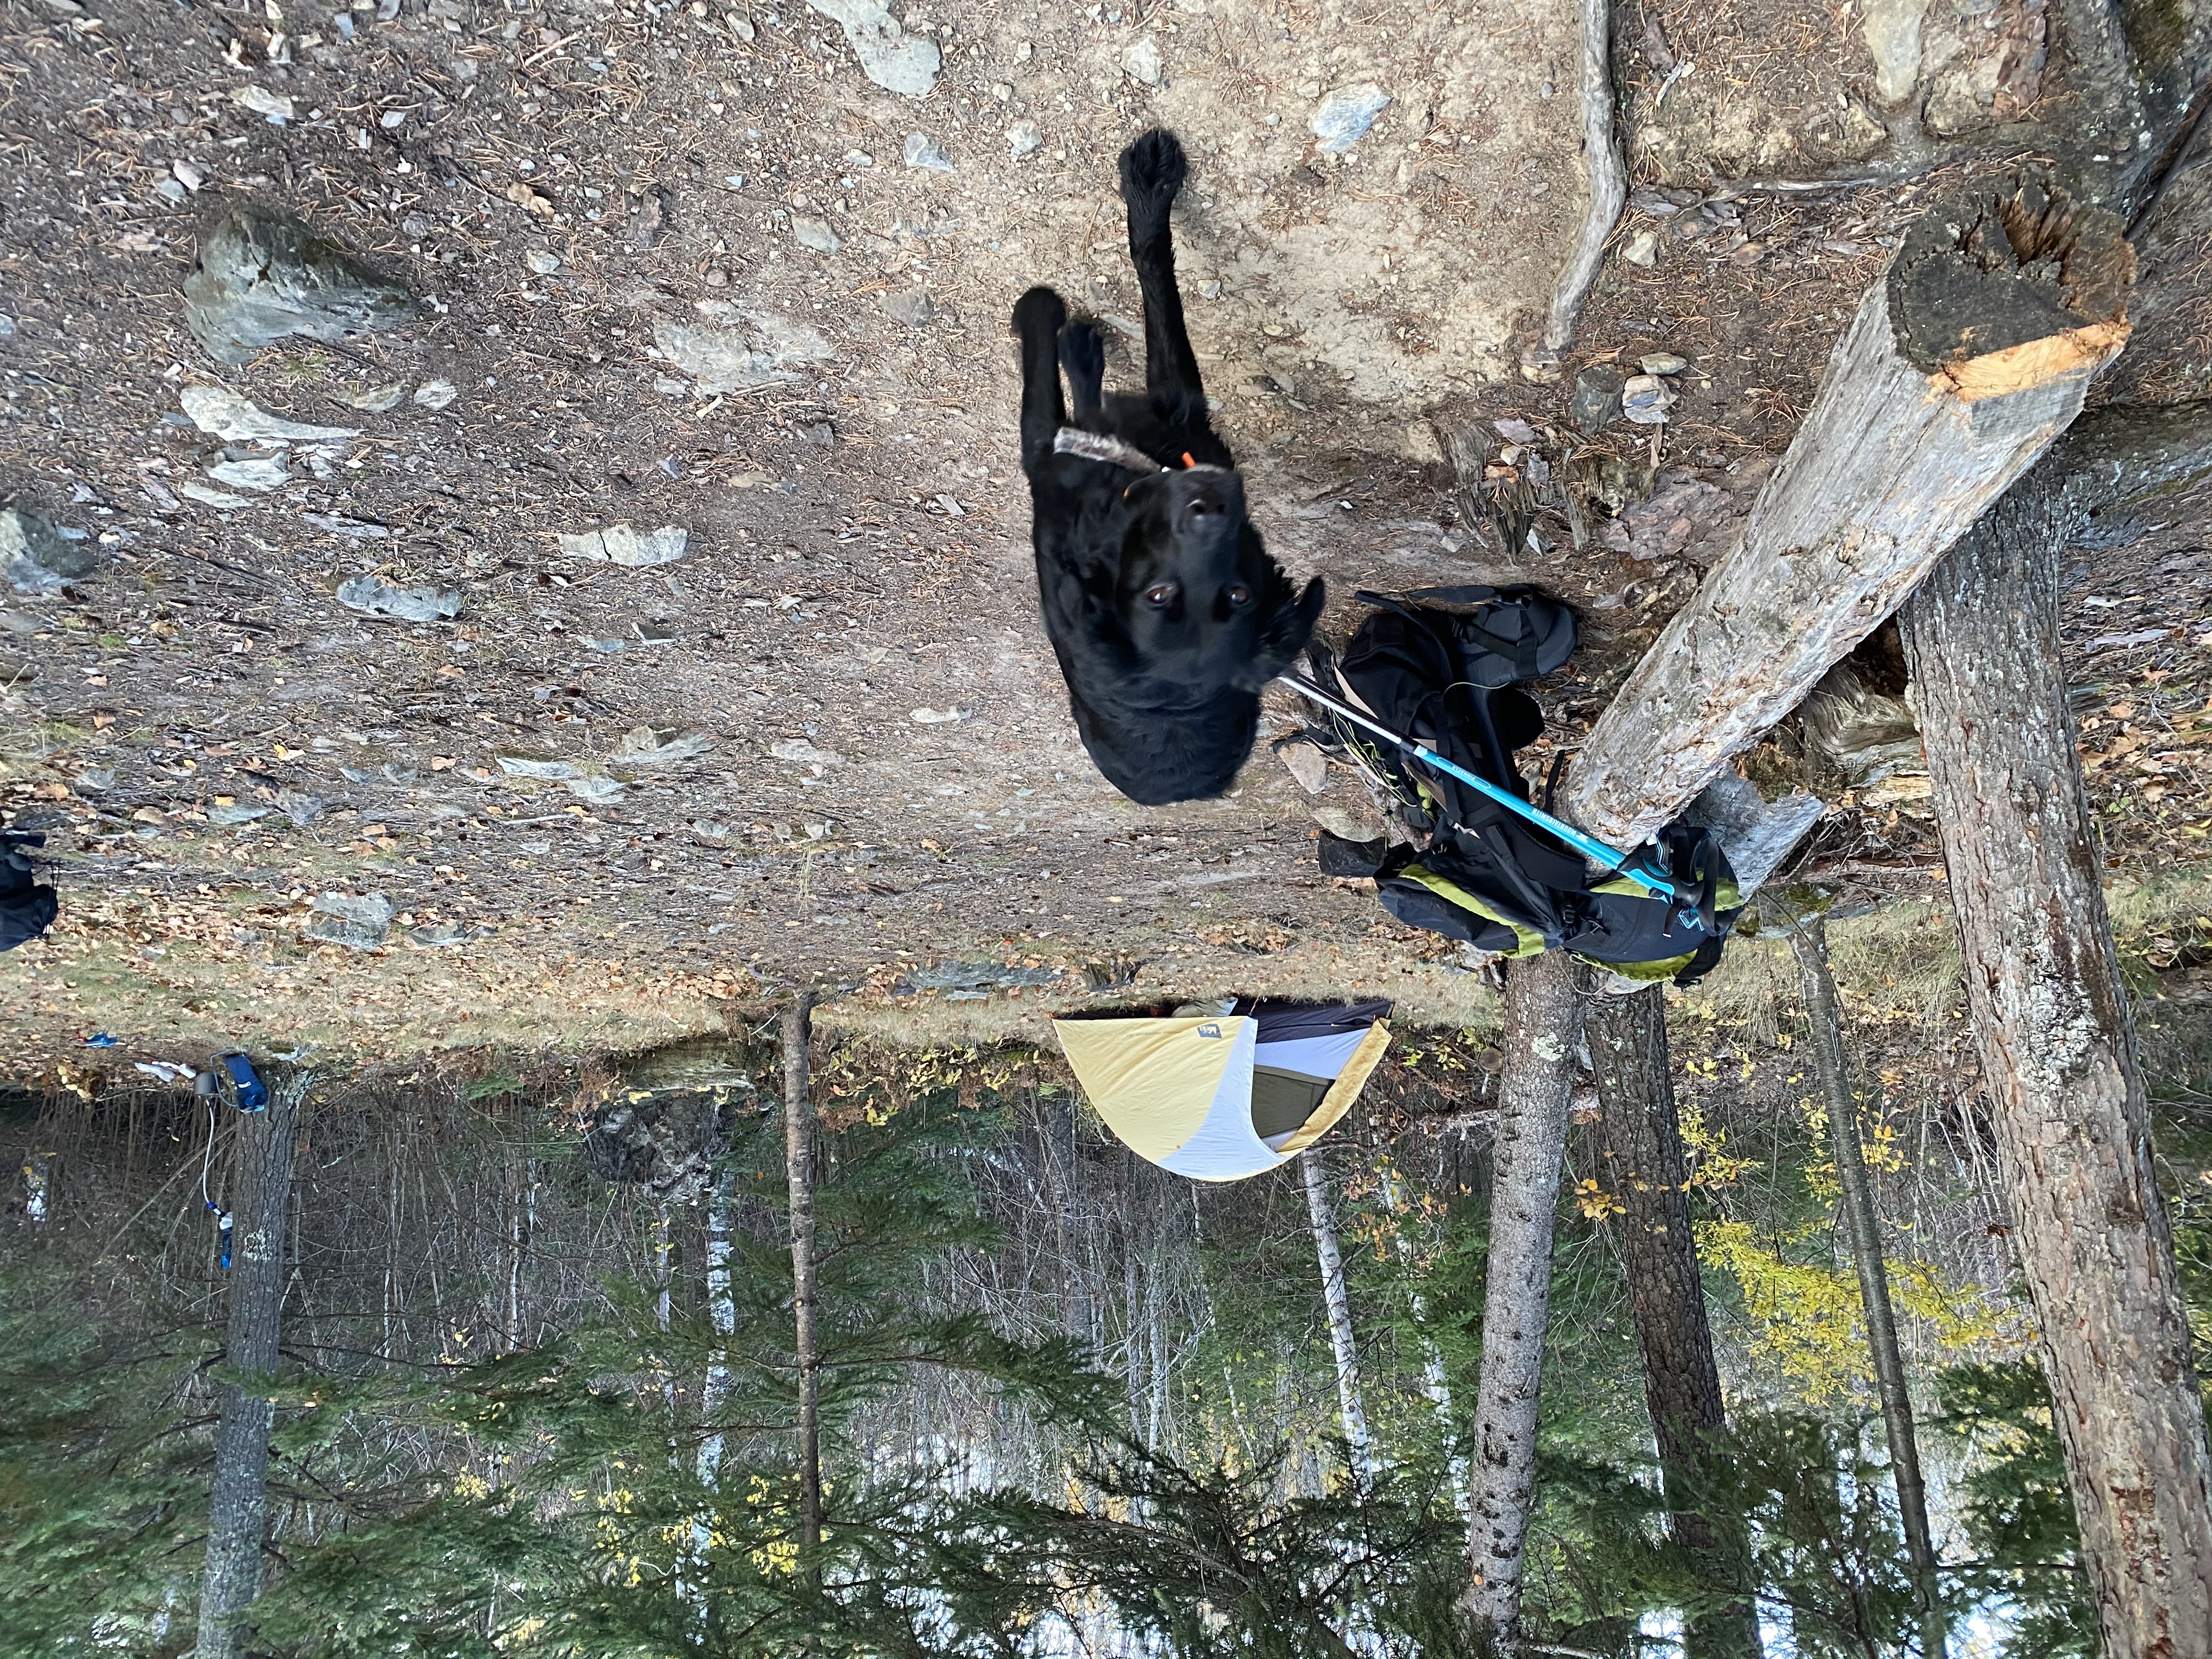
NIGHT ONE ON THE KEK
On the first day of our October trip, Almost Boyfriend and I started off late in the afternoon. With the sun sinking in the sky earlier and earlier on the rapidly decreasing Fall days, we found ourselves in camp only 6 miles East of the Snowbank Lake trailhead on Parent Lake, with less than an hour of light left. We quickly set up, ate, and crashed for the night after a swig or two of whiskey. Although we hadn’t accomplished what we set out to do day one, we were happy to finally be surrounded by the beautiful Wilderness and it’s serenity—finally we were alone in the wild.
Lesson #4: Plan your miles-a-day around the hours of daylight you have and set up camp before it’s dark. Check seasonal sunset times before you head on trail.
BITTERSWEET SIXTEEN
Day two started off bright, early, and full of dreams of making up for our late start on day one by hiking a full sixteen miles. I’ll say it again—SIXTEEN MILES of hiking in a single day. As you can imagine, this was mentally hard for me, as a novice, to even comprehend. I don’t think I’ve even walked sixteen miles in one day on a paved road before. Nonetheless, I managed to accomplish it, even though I tripped more than a few times and even rolled an ankle.
However, this is the day I learned that breaking in your brand-new hiking shoes is a crucial step in preparation for a biped journey such as this one. About 6 miles into day two, I had blisters the size of a silver dollar (Google “silver dollar” if you were born after 1984) on the back of each heel. By the time we reached camp, I could barely walk right because I was in so much pain.
Lesson #5: Break in your hiking shoes before you go on a hike. Moleskin blister covers aren’t a bad idea either, although I found duct tape and gauze to stay in place and work much better. Did I mention trekking poles?
A COLD DAY IN—HELLO ELEVATION!
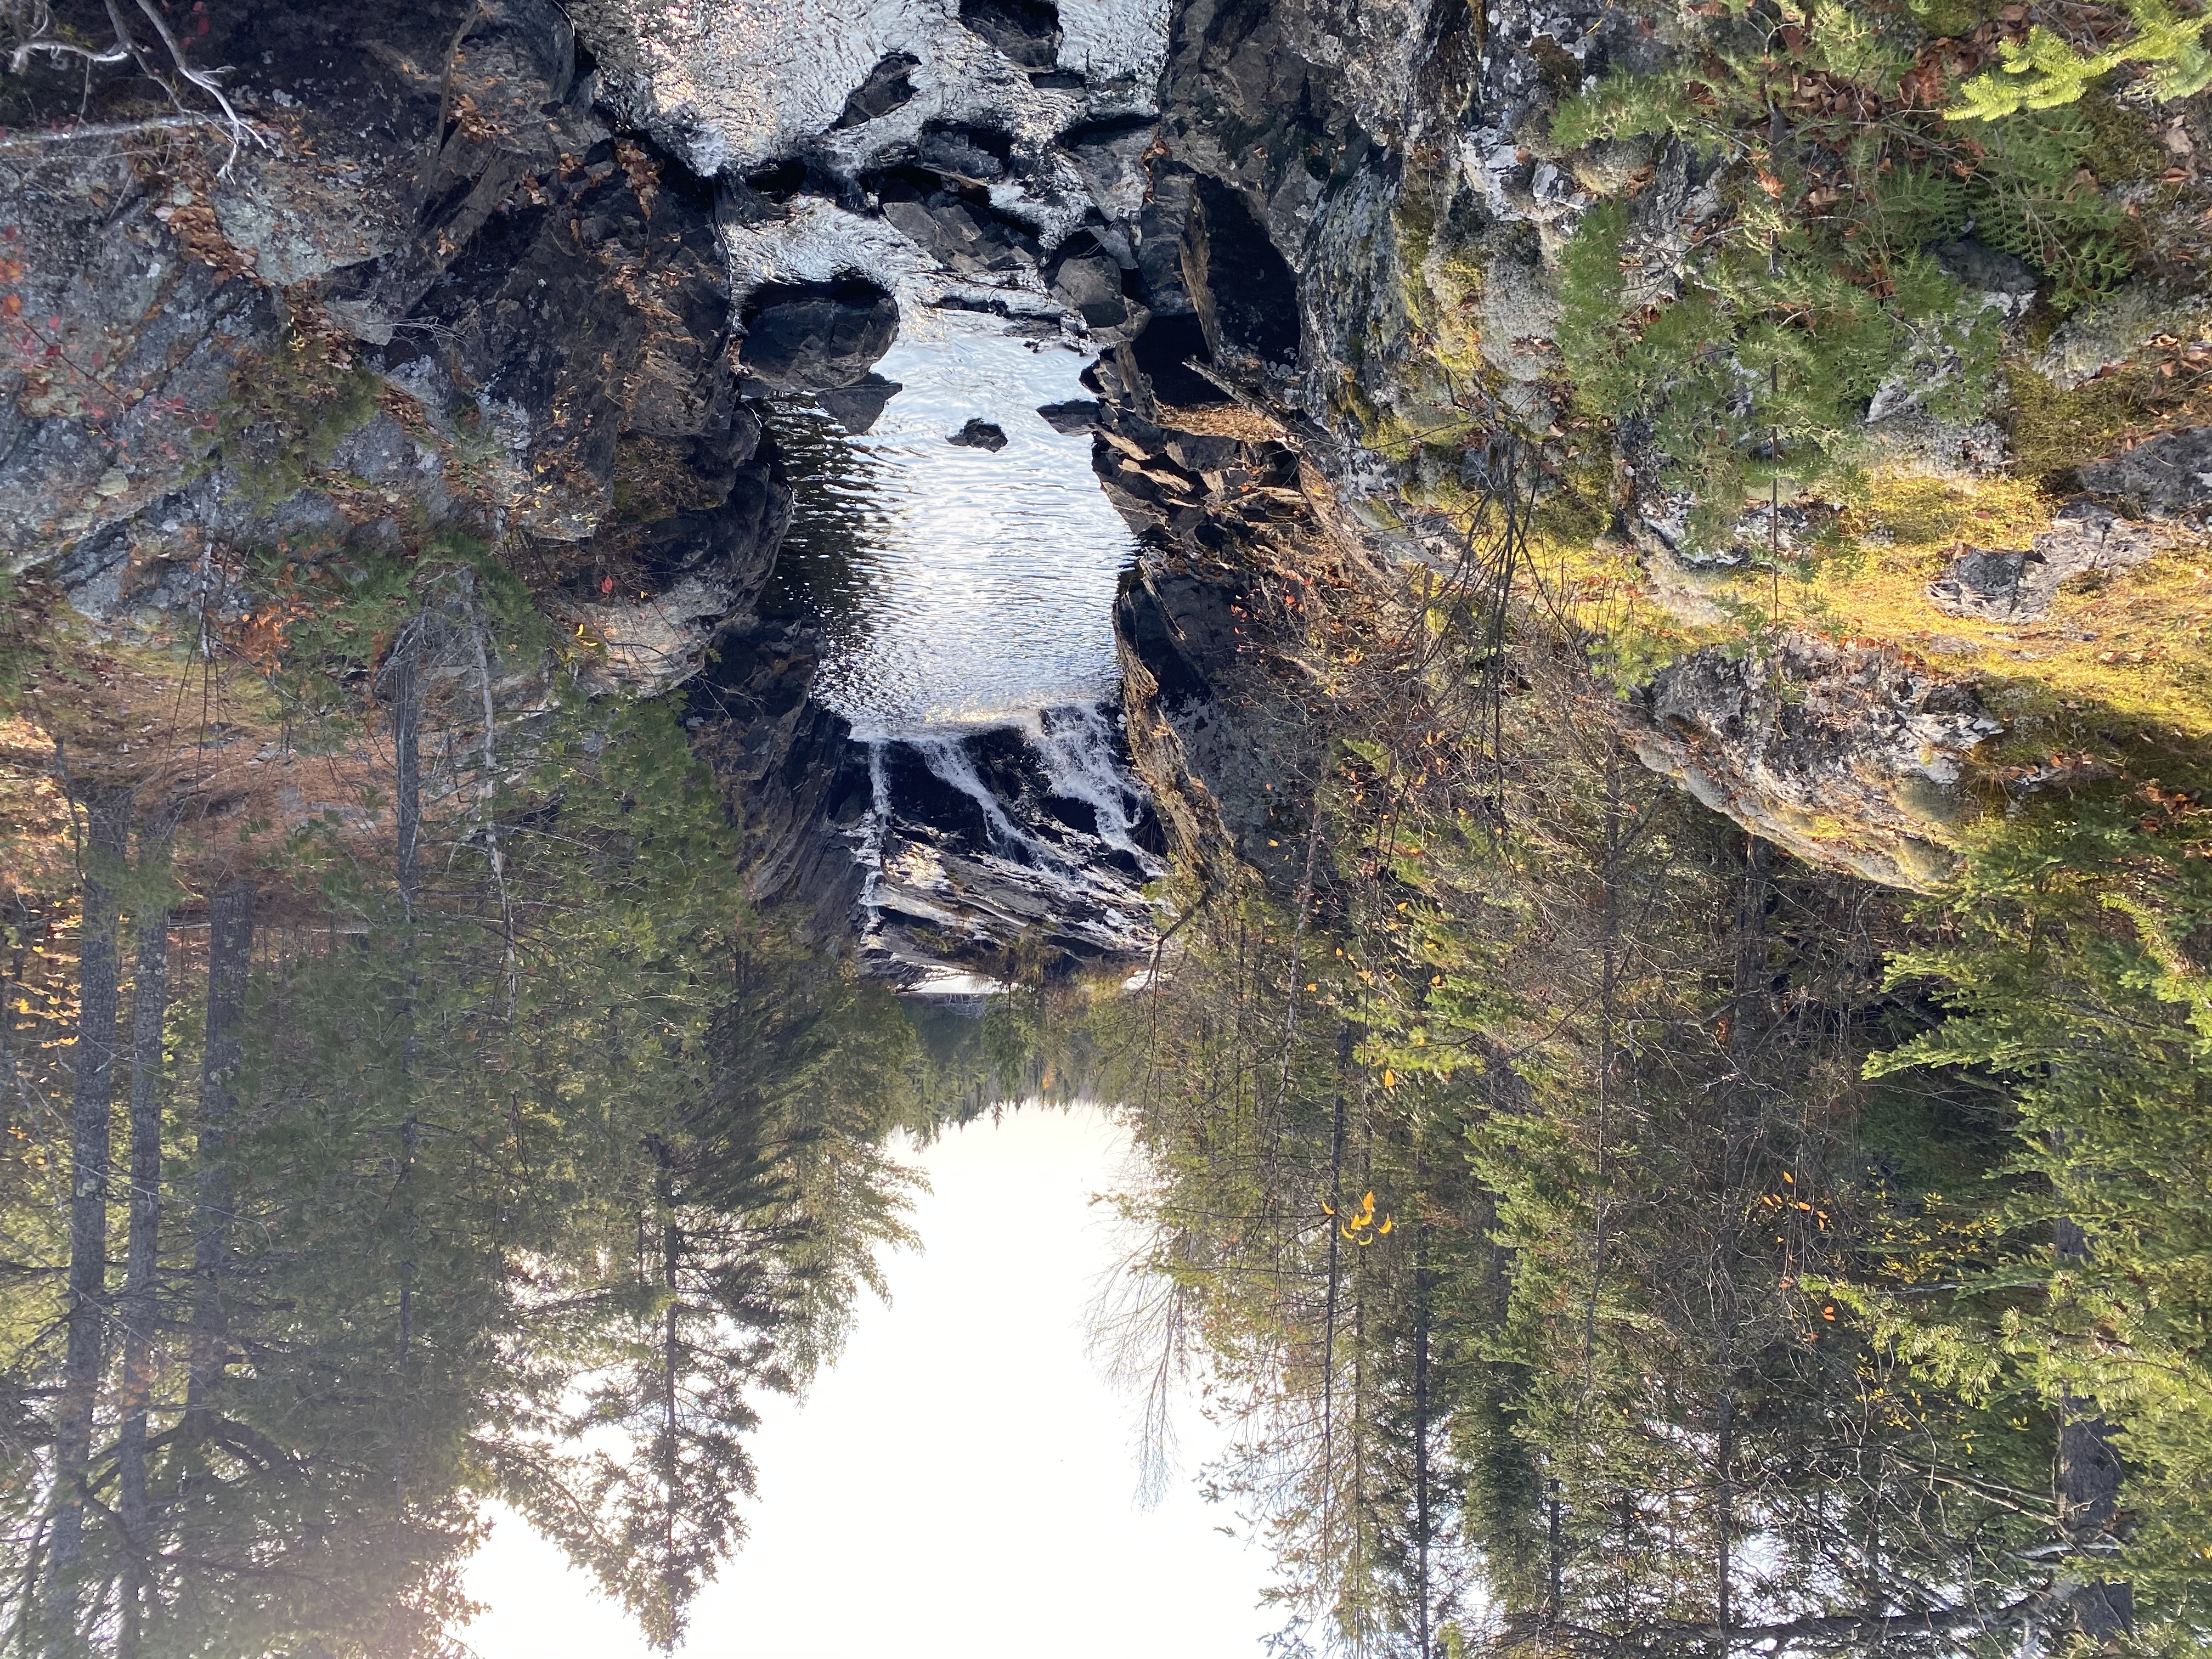
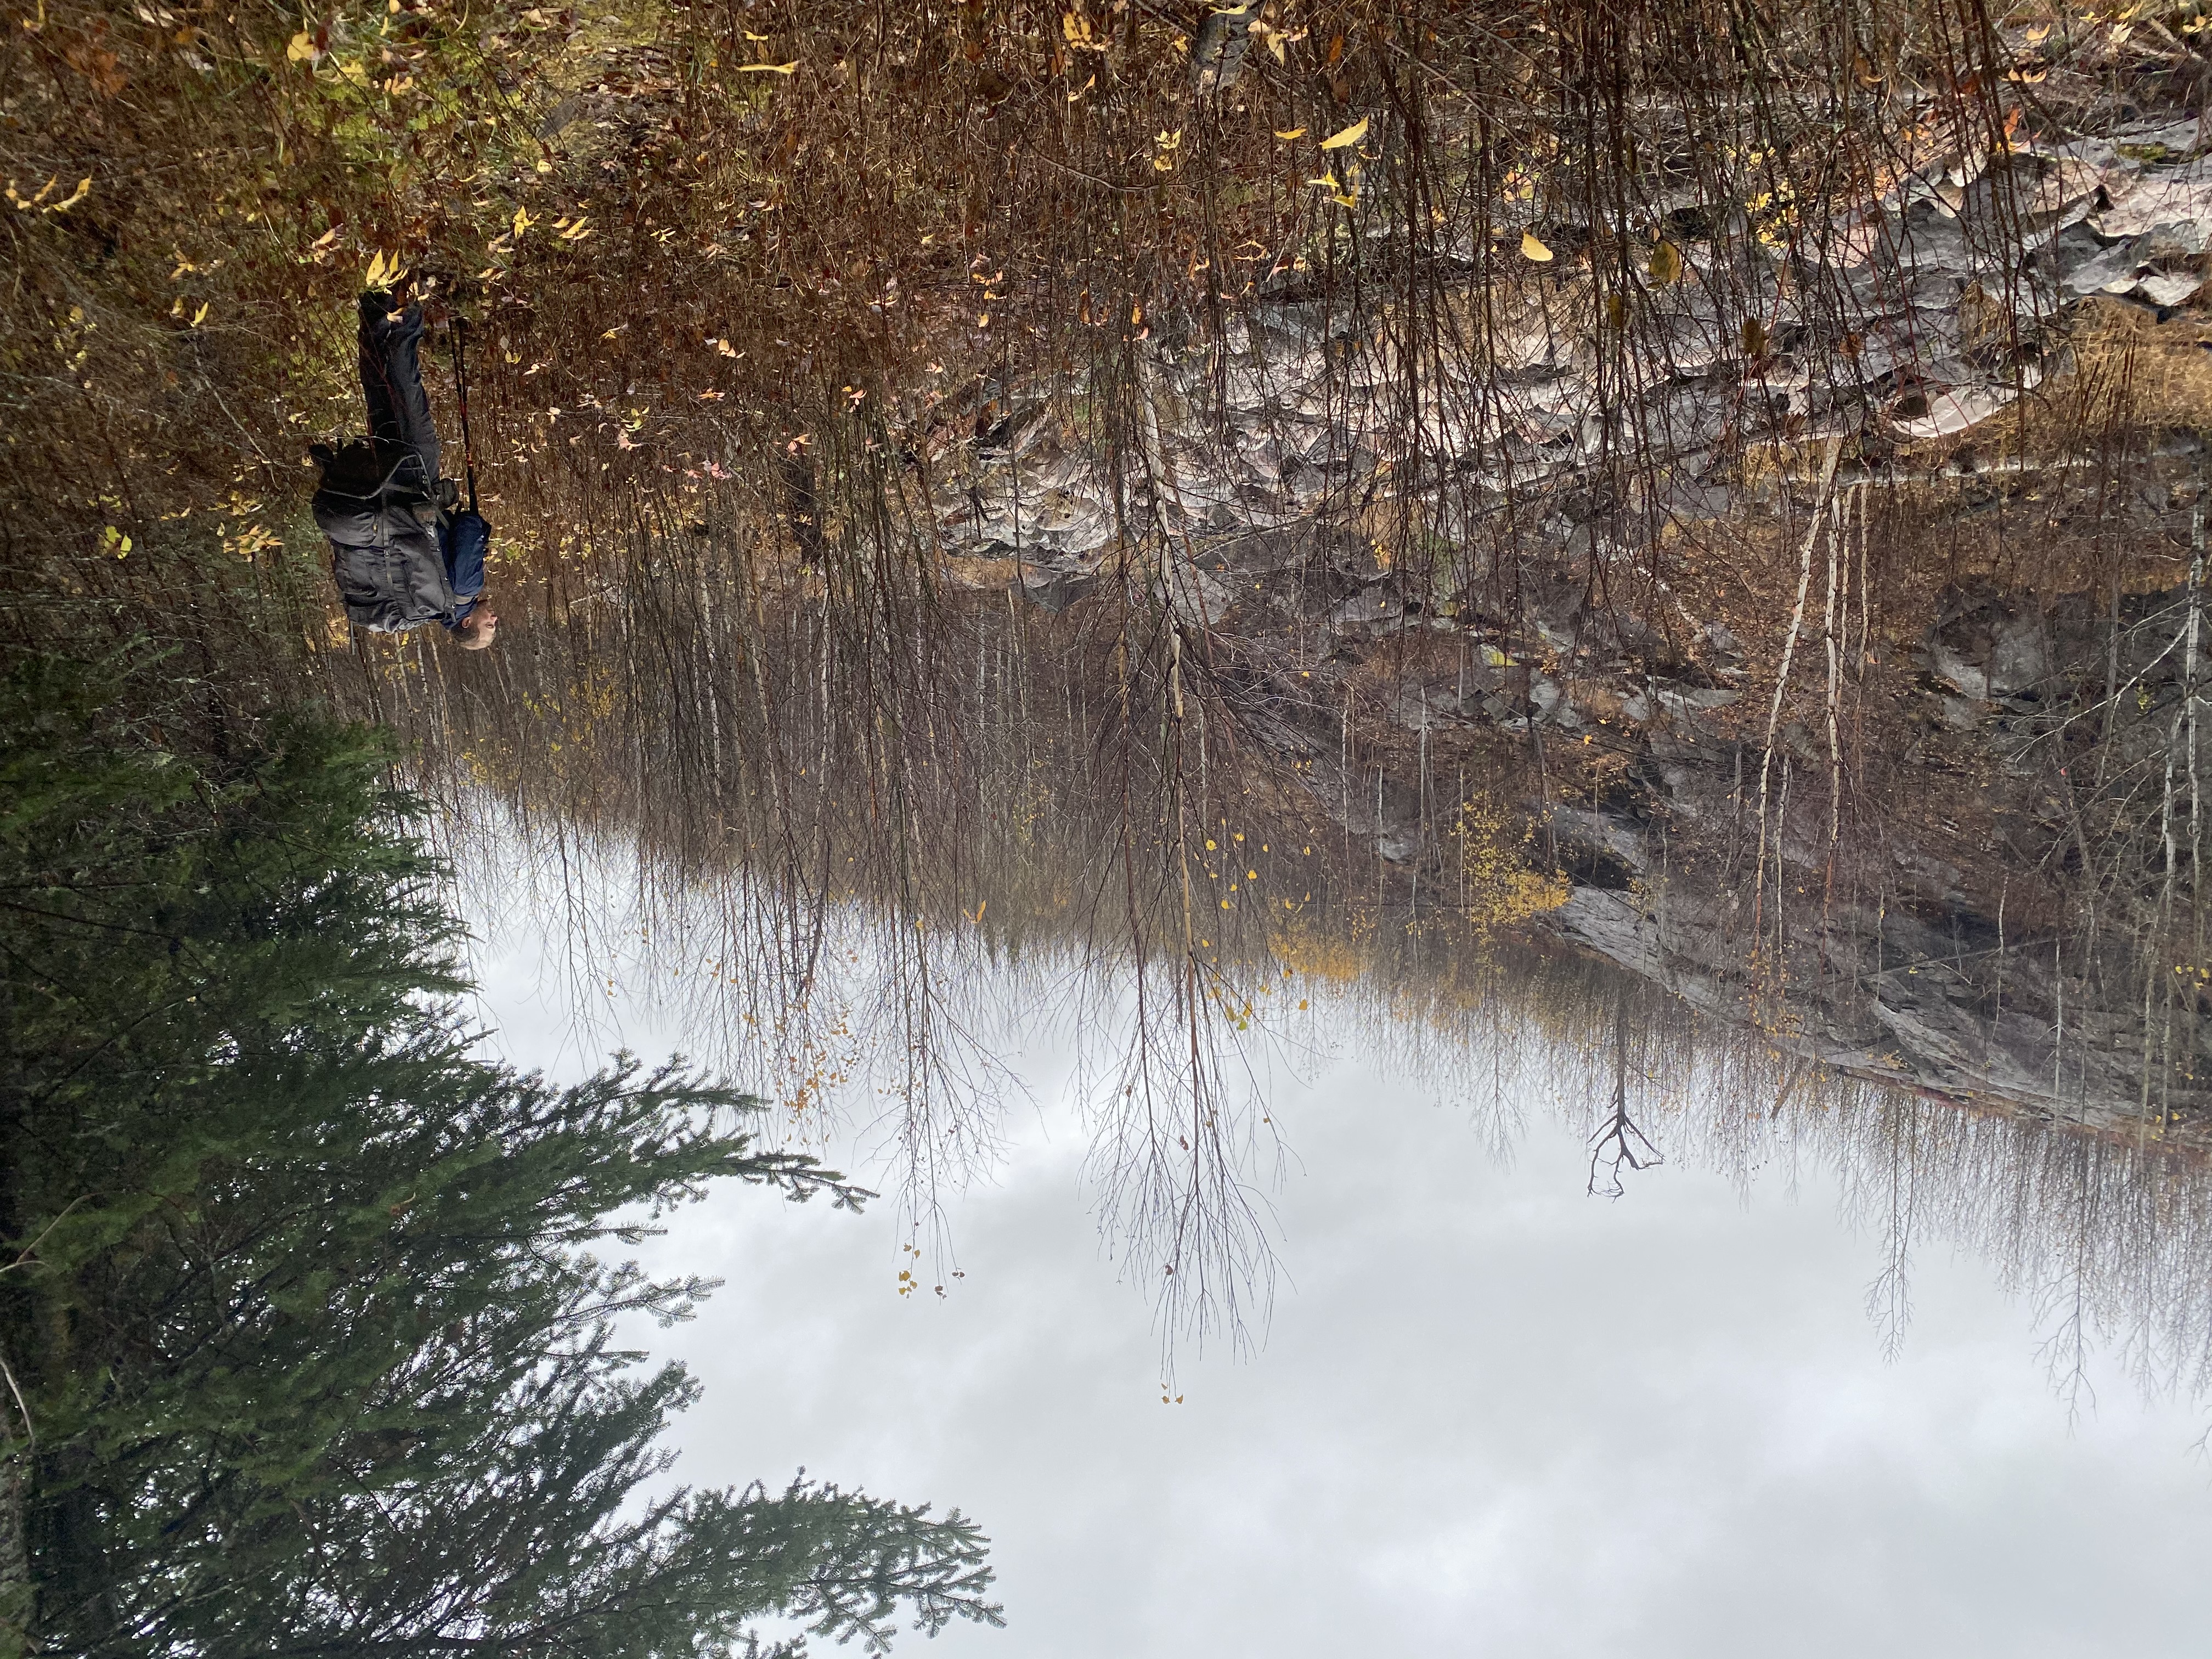
We were blessed with really great weather on this early October trip, but even the sunshine on day three couldn’t take the sting out of my now torn-up heels. However, nothing could stomp on my spirit. We were now halfway through our journey, in the middle of the wild (aka, I knew I had to keep going unless I wanted to live in the Wilderness forever), and my heart was so happy to have this experience. That is until I discovered what people meant by, “a little elevation on the Kek.”
LOL oh my goodness. You will go up and down and up and down more times than a kid on a perpetual sugar high while hiking the Kek. Pair this with painful, duct-taped, double-socked heels and you’re in for a real treat of a day. In all seriousness, once you do make it to the tallest point of your journey at about 1900 feet, you will love the view and the feeling of sheer accomplishment on how far you’ve physically and mentally come.
Lesson #6: Hiking is mind over matter. No matter how tired your body is or how much your feet hurt, you can push past the pain to reach something beautiful.
NO LONGER A VISITOR
The last day of our hike was a bittersweet one. I knew my blistered-heels needed a break and that we needed to get back to our civilized lives, but I was lovingly lost in the wonder of the wild—I didn’t want to leave.
You see, humans are marvelous creatures of adaptation. After three days of living amongst the beautiful Boundary Waters, the trees, forest fire remnants, even the sometimes scary sounds and winds at night, I no longer felt like a visitor there but a part of it. Like the wild was what reality should be and that my home in the suburbs was just a facade.
In short, I didn’t want to leave this quiet place or even be separated from my now-bonded Almost Boyfriend who had shared my laughs and pain on this incredible, wild journey with me. But we had done it. There were no more steps to take and honestly, no more gauze left for my wounds.
Lesson #7: Soak up every moment, even the bad ones. They are the stories and scars you will tell once out of the woods and you’ll be damn proud of them when you’ve officially taken your final step off trail.
In the end, was it all worth it? Hell yes! On so many levels.
Let me be clear: a trip into the Wilderness will show you your true self. It strips away any shred of fiction in your life and reveals what’s hiding behind your screens, social posts, and societal masks. It has the capability to force you to see yourself as you truly are. No makeup. No “cute” clothes. No lies. There is no hiding from it. From the weather, from the wildlife, from the pain and challenge of completing your first epic hiking or paddling trip. The Wilderness will find you—the real you. And I personally can’t wait to do it again.
For more information on the Kek, contact local outfitters and the Superior Hiking Trail Association for resources.
“It doesn’t matter how slowly you go, as long as you do not stop.” -Confucius